To get a photo to 600×600 pixels for a US visa or passport upload, crop it to a perfect square first, then resize the square to 600×600, then compress it to 240 KB or less if the form asks for that. Doing it in that order matters: resizing a rectangular phone photo straight to 600×600 squashes your face, and a squashed face is exactly what gets a photo rejected.
This guide walks through the whole job with free browser tools, explains the numbers the upload forms actually check, and is honest about the parts no resizer can fix for you, like lighting, background and head size.
General information only: photo rules are set by the US Department of State and can change. Always check the current requirements on the official application page before you submit.
The numbers the upload form checks
Most rejections at the upload step are about three technical things: the shape, the pixel size and the file size. Here is what the Department of State asks for in the two most common online forms at the time of writing.
| Requirement | DS-160 visa application | Online passport renewal |
|---|---|---|
| Shape | Square (width = height) | Square (width = height) |
| Pixel size | Between 600×600 and 1200×1200 | At least 600×600; check the page for the current range |
| File type | JPEG | JPEG is accepted; check the page for other formats |
| File size | 240 KB or less | Check the current limit on the page |
| Colour | Colour photo, no filters | Colour photo, no filters |
Aiming for exactly 600×600 pixels, JPEG, under 240 KB satisfies both forms in almost every case, which is why 600×600 has become the number people search for.
Step 1: Turn an iPhone photo into a JPG (if you need to)
iPhones save photos as HEIC by default. Some government upload forms refuse HEIC, and many editing tools cannot open it either. If your photo ends in .heic, run it through the free HEIC to JPG converter first so every later step works with a normal JPEG.
If you are taking a new photo, you can also switch your iPhone to save JPEG directly: Settings → Camera → Formats → Most Compatible. That only affects new photos, not ones already in your library.
Step 2: Crop to a square with your head in the right place
This is the step that decides whether your photo is accepted. The form wants a square image where your head, measured from chin to the top of the hair, fills roughly half to two thirds of the height. In a 600×600 image that works out to about 300 to 414 pixels from chin to crown, with your eyes a little above the middle.
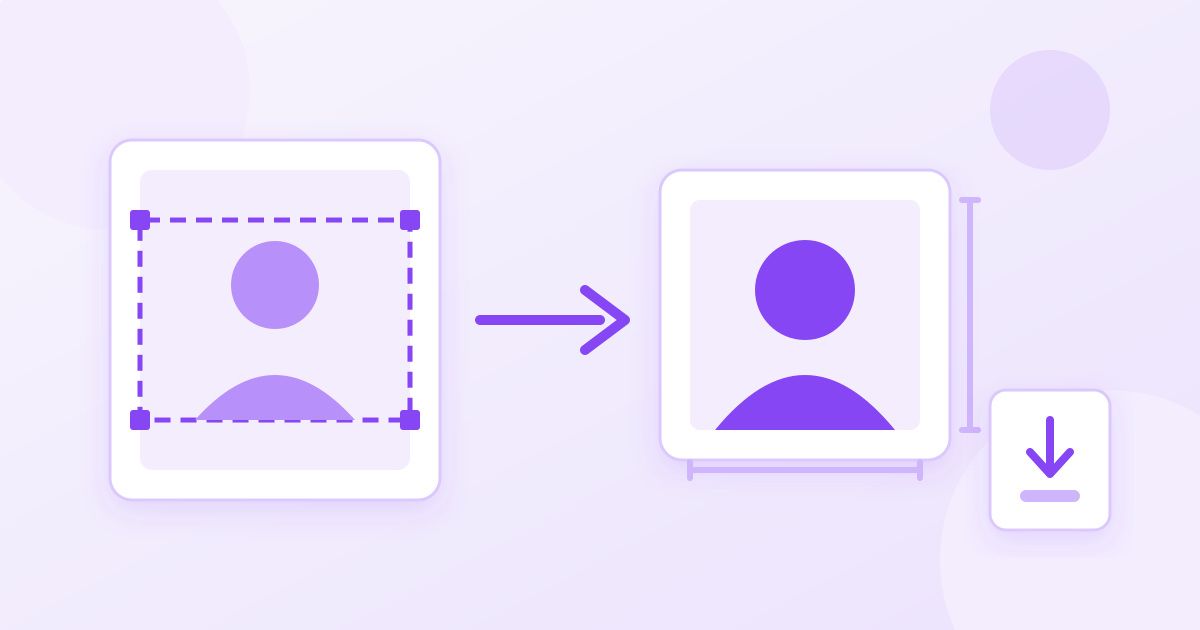
Open your photo in the Image Cropper and choose the square (1:1) preset. Then:
- Drag the crop box so your face is centred left to right.
- Resize the box so there is a small gap above your hair and your shoulders are visible at the bottom.
- Check that your chin-to-crown height is about half to two thirds of the box. If your head looks tiny, the box is too big; if your hair touches the top edge, it is too small.
- Download the cropped square.
Start from the largest original you have. Cropping throws pixels away, so a photo that began at 4000 pixels wide still has plenty left after cropping, while a screenshot or a photo sent through a messaging app may not.
Step 3: Resize the square to exactly 600×600
Now open the square crop in the Image Resizer and enter 600 for the width and 600 for the height. Because the image is already square, it scales down evenly and nothing is stretched.
If you skip the crop and type 600×600 into a resizer with a rectangular photo, the tool has to force a 4:3 or 16:9 picture into a square. The result is a face that looks too wide or too thin. That is the single most common mistake people make with passport photos, and the reason the crop comes first.
You can go bigger than 600×600 if you like. For the DS-160, anything up to 1200×1200 is allowed, and a larger square keeps a little more detail. The catch is that a larger image is harder to squeeze under 240 KB, so 600×600 is the safer default.
Step 4: Get the file under 240 KB
A 600×600 JPEG straight from a resizer is often already under 240 KB, but not always, especially if it was saved at maximum quality. Check the file size on your computer (right-click → Properties on Windows, or Get Info on a Mac). If it is over the limit, run it through the Image Compressor. At this size a JPEG can usually lose a lot of kilobytes with no difference you can see in a face photo.
Do not compress so hard that your face looks blocky or smeared. The form checks the file size, but a human or an automated check also looks at clarity, and a blurry photo is rejected just as fast as a large one.
What a resizer cannot fix
Getting the pixels right only gets you past the upload check. The photo itself still has to meet the rules, and none of these can be repaired by resizing or compressing:
- Background. It must be plain white or off-white, with no shadows or patterns. Stand in front of a white wall or door in even light.
- Lighting. No harsh shadows across your face. Face a window rather than having it behind you.
- Expression and pose. Face the camera directly, eyes open, neutral expression or a natural smile.
- Glasses. Take them off; they are generally not allowed in US passport and visa photos.
- Age of the photo. It must be recent, taken within the last six months.
- Edits. No filters, beauty modes or digital alterations. That includes swapping the background with an editor: the rules ask for an unaltered photo, so fix the background when you take the picture instead.
A useful trick for the head-size rule: ask someone to take the photo from about four feet away at chest height, rather than a selfie at arm's length. Selfies distort the nose and make the head too large in the frame.
Quick checklist before you upload
- The image is square and exactly 600×600 (or within 600–1200 on each side).
- It is a JPEG file with a .jpg or .jpeg extension.
- The file size is 240 KB or less if the form says so.
- Your face is not stretched, and your head fills about half to two thirds of the height.
- The background is plain white or off-white and the photo is less than six months old.
If the form still rejects the photo, the error message usually says which check failed. A "dimensions" error means the square or pixel size is off; a "file size" error means another pass through the compressor; a "photo quality" error usually means lighting, focus or head size, which means retaking the photo rather than editing it.
Other countries and other forms
The same method works for any photo spec that gives you pixel dimensions. Only the numbers change. Some applications want a rectangle rather than a square, for example a portrait shape such as 35×45 mm for many European documents, and online forms for exams, jobs or university portals often set their own pixel size and a kilobyte limit. In each case, crop to the required shape first using a matching aspect ratio, then resize to the exact pixel size, then compress to the file-size limit. If the form only gives the size in millimetres or inches, look for the pixel figure on the same official page before you guess, because the conversion depends on a resolution the form may or may not state.
About privacy
The HEIC converter, resizer and compressor upload your photo to Toolyfied's server to process it. Files are used only to produce your result, and old files are cleaned up from the server automatically every day. The cropper runs in your browser. If you would rather not upload an ID photo anywhere, the same crop-then-resize-then-compress order works in any desktop photo editor.
Frequently Asked Questions
What size should a US visa photo be in pixels?
For the DS-160 visa application the photo must be square, between 600×600 and 1200×1200 pixels, in JPEG format and 240 KB or smaller. Exactly 600×600 is the safest choice because it is easy to keep under the file-size limit. Always confirm the current rules on the official application page.
Why does my face look stretched after resizing to 600x600?
Because the original photo was not square. Resizing a rectangular photo straight to 600×600 squeezes it into the new shape. Crop the photo to a 1:1 square first, then resize, and the proportions stay correct.
How do I get my passport photo under 240 KB?
Resize it to 600×600 first, since smaller dimensions mean a smaller file. If it is still over 240 KB, run it through an image compressor. A face photo at this size can usually lose a lot of kilobytes without any visible change.
Can I upload an iPhone HEIC photo for a US visa?
The DS-160 asks for a JPEG, so convert HEIC to JPG before uploading. You can also set your iPhone to save new photos as JPEG under Settings, Camera, Formats, Most Compatible.
Can I use a background remover to make the background white?
It is safer not to. The photo rules ask for an unaltered image, and edited backgrounds can lead to a rejection. Take the photo in front of a plain white or off-white wall in even light instead.
How big should my head be in a 600x600 passport photo?
Your head, measured from chin to the top of the hair, should be roughly half to two thirds of the image height, which is about 300 to 414 pixels in a 600×600 photo. Leave a small gap above the hair and keep your eyes slightly above the middle.