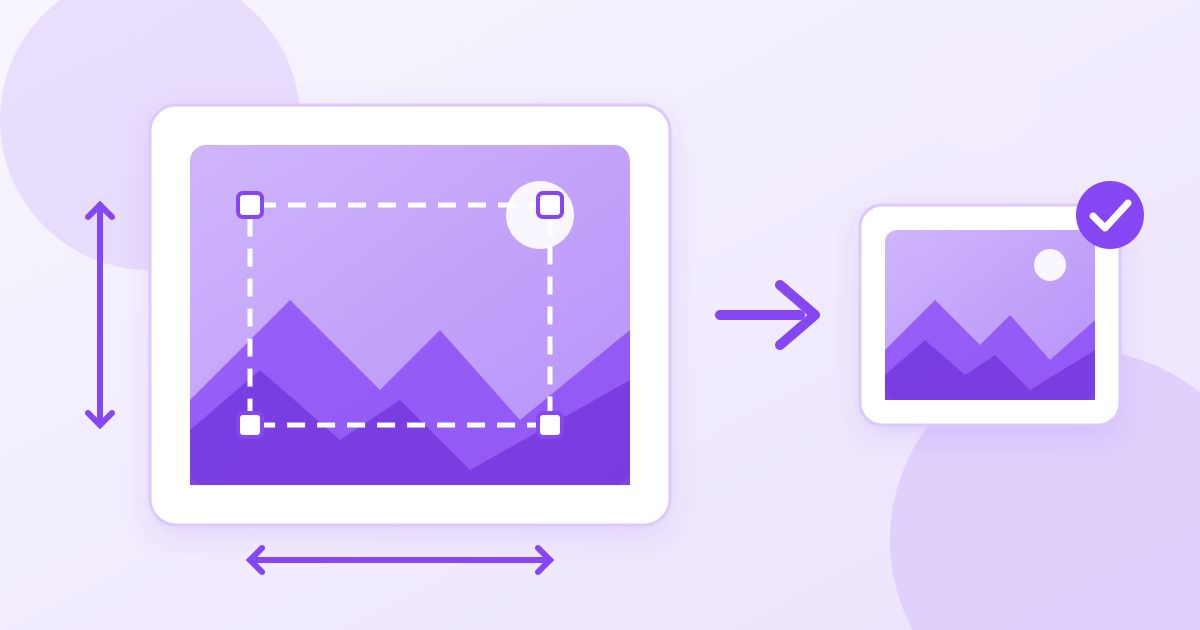
To resize an image to an exact width and height, open the free Image Resizer, upload your JPG, PNG or WebP, type the pixel dimensions you need (600 × 600, 1920 × 1080, whatever the form asks for) and download the result. No sign-up, no watermark. The part most guides skip is what comes before and after: how to hit an exact size without a squashed face or a blurry logo, and what to do when the upload is still rejected for being too many kilobytes.
"Exact pixels" is a different job from "make it smaller"
Most people searching for how to resize an image have a specific number in front of them. A visa or passport portal wants a 600 × 600 pixel photo. A job board wants a square 400 × 400 headshot. A marketplace wants product photos at least 1000 pixels on the longest side. A university application form refuses anything wider than 1200 pixels. A client wants a logo at precisely 512 × 512 for an app listing.
That is not the same as compressing. Compression reduces the file size in kilobytes and leaves the pixel dimensions alone. Resizing changes the pixel dimensions themselves, which usually shrinks the file size as a side effect but is not aimed at it. Cropping removes part of the picture to change its shape. You often need two of the three, and the order matters: crop first, resize second, compress last.
| You need to… | What changes | Tool |
|---|---|---|
| Hit an exact width and height | Pixel dimensions | Image Resizer |
| Change the shape (square, 16:9, 4:5) | Which part of the picture is kept | Image Cropper |
| Get under a kilobyte or megabyte limit | File size, not dimensions | Image Compressor |
Step by step: resize an image to an exact width and height
- Get the image into a supported format. The resizer takes JPG, PNG and WebP. If the photo came off an iPhone as HEIC, run it through the HEIC to JPG Converter first, then resize the JPG.
- Open the Image Resizer and upload the file. Drag it in or pick it from your phone or computer.
- Type the width and height in pixels. Enter the exact numbers the form or platform specifies. If it only gives one number ("at least 1000 px wide"), set that dimension and keep the proportions of the original.
- Download and check. On Windows, right-click the file, choose Properties and open the Details tab; on a Mac, select the file and press Command-I. The dimensions should read exactly what you typed.
Repeat for each image. The whole thing takes well under a minute per file, which is why it beats opening a full photo editor for a one-off form upload.
The aspect-ratio trap (why faces get squashed)
The most common mistake is forcing a rectangular photo straight into a square box. A typical phone photo is 4:3 or 3:2. If you set 600 × 600 on a 4000 × 3000 original, one of two things happens depending on the tool: either the picture gets stretched to fit (faces look wide or tall) or it gets padded or cropped in a way you did not choose.
The fix is to crop to the right shape first. Open the Image Cropper, pick the square preset (or the 16:9, 4:5 or custom ratio you need), frame the subject, and download. Then resize that cropped image to the exact pixel count. Because the shape already matches, the resizer only has to scale, and nothing gets distorted.
A quick rule: if the target width ÷ height is not the same ratio as your original, crop before you resize. A 1200 × 800 photo going to 600 × 400 is fine (both 3:2). The same photo going to 600 × 600 is not.
Common upload sizes and what they actually mean
Requirements vary and change, so the numbers below are the kind of thing you will see rather than a rulebook. Always read the form's own spec and follow that.
- Passport and visa photo portals usually want a square image, and 600 × 600 pixels is a widely quoted minimum for the US applications. Many also insist on JPEG and a maximum file size, so resize first, then compress if needed.
- Profile photos on professional networks and forums are square; 400 × 400 is a common floor. Upload something a little larger than the minimum rather than exactly at it, so the site's own downscale looks clean.
- Video thumbnails are typically 1280 × 720 (16:9). Crop to 16:9, then resize.
- Product listings on marketplaces often specify a minimum on the longest side (1000 or 1600 pixels are common) rather than a fixed box.
- Email signatures and web banners usually cap the width: 600 pixels wide for email is a safe assumption because most email clients render around that width.
For social media specifically, the sizes shift every year; treat any one number as a starting point, and check the platform's current help page before a big campaign.
Making an image bigger: when resizing up does not work
Resizing down is safe. The tool discards pixels the target does not need, and text and edges stay crisp. Resizing up is where quality disappears. A 300 × 300 logo pushed to 1200 × 1200 has to invent three quarters of its pixels, and no resizer, however good, can recover detail that was never captured. The result is soft edges and visible blur.
If a form demands a size larger than your original, the honest answer is to find a larger source: the original camera file instead of a WhatsApp forward, the vector or master version of a logo, or a fresh photo. Small enlargements (say, up to about 150 percent) are usually tolerable for photos; for logos and screenshots, even that shows.
Still rejected? The file size is the other limit
Forms often set two limits at once: dimensions and a maximum file size, such as 240 KB or 2 MB. A 600 × 600 JPEG from a modern phone can easily be 400 KB because the camera saves at high quality. If that happens, run the resized file through the Image Compressor. It keeps the pixel dimensions you just set and reduces the kilobytes, usually with no loss you would notice on screen.
Do it in this order: resize, then compress. Compressing first and resizing afterwards re-encodes the image a second time and throws away quality for nothing.
When the portal wants a PDF, not an image
Some applications ask for scanned documents or photos as a PDF. Once the image is at the right dimensions, the Image to PDF Converter turns one or several JPG, PNG or WebP files into a single PDF. Resize before converting; a PDF wrapper does not change the pixel dimensions of the picture inside it.
A note on privacy
The Image Resizer processes your upload on Toolyfied's servers to produce the result. Files are used only to make the resized version, and old files are cleaned up from the server automatically every day. If an image is genuinely sensitive, an ID scan for example, the safest habit is the same one you should use everywhere: download the result, then delete anything you no longer need on your side too.
Quick checklist
- Convert HEIC to JPG first if the photo is from an iPhone.
- Crop to the target shape if the ratio differs from your original.
- Resize to the exact pixel width and height the form specifies.
- Compress only if there is a file-size cap and only after resizing.
- Check the dimensions in the file's properties before you upload.
Follow that order and a "wrong dimensions" rejection is a thirty-second fix instead of an afternoon of guesswork.
Frequently Asked Questions
How do I resize an image to a specific pixel size?
Open the Image Resizer on Toolyfied, upload the JPG, PNG or WebP, type the exact width and height in pixels, and download. If the target shape differs from the original (for example a square from a rectangular photo), crop it to that shape first so nothing gets stretched.
Does resizing an image reduce its quality?
Resizing down keeps quality: the tool removes pixels the smaller size does not need. Resizing up is where quality is lost, because new pixels have to be invented and the image goes soft. If you need a larger image, find a larger original rather than enlarging a small one.
What is the difference between resizing and compressing an image?
Resizing changes the pixel dimensions (width and height). Compressing reduces the file size in kilobytes without changing the dimensions. Forms often set both limits, so resize first and compress afterwards if the file is still over the size cap.
Why does my photo look stretched after resizing?
The target dimensions had a different aspect ratio from the original, so the image was forced to fit. Crop the photo to the right shape (square, 16:9 and so on) with the Image Cropper, then resize; when the shapes match, the resizer only scales and nothing distorts.
How do I resize an iPhone HEIC photo?
Convert it to JPG first with the HEIC to JPG Converter, then upload the JPG to the Image Resizer. Most forms and websites do not accept HEIC anyway, so the conversion is usually needed regardless of the size.
How can I check the pixel dimensions of an image?
On Windows, right-click the file, choose Properties, then the Details tab. On a Mac, select the file and press Command-I, or open it in Preview and choose Tools, Adjust Size. On a phone, the photo's info screen usually lists the dimensions.