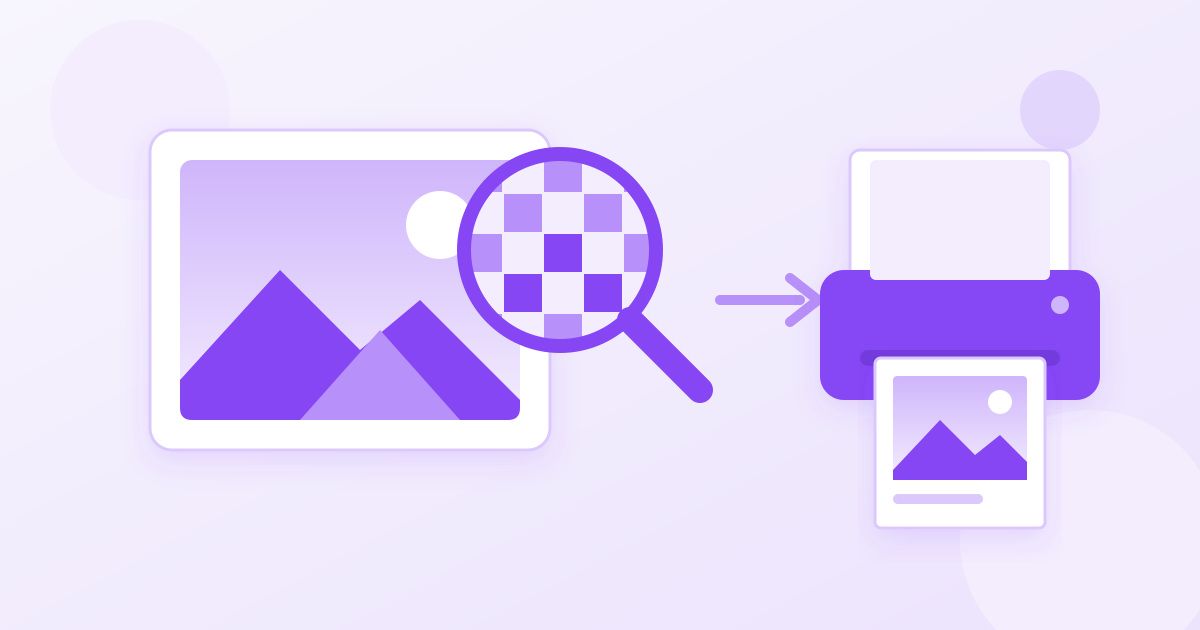
To make an image 300 DPI for printing, it needs enough pixels: multiply the print size in inches by 300. A 4×6 inch photo needs 1200×1800 pixels, an 8×10 needs 2400×3000. If your image already has that many pixels, you only need to change the DPI number in its settings, which takes seconds and changes nothing about how the picture looks. If it has fewer, no setting will add the missing detail, so you either print smaller or accept a softer result.
That is the whole idea in one paragraph. The rest of this guide shows how to check what you have, the exact pixel sizes for common print formats, how to resize to those numbers for free, and when a print shop's "must be 300 DPI" warning actually matters.
What 300 DPI really means
DPI (dots per inch) and PPI (pixels per inch) get used interchangeably online, and print shops usually mean PPI when they say DPI. It describes how tightly the image's pixels will be packed onto paper. At 300 pixels per inch, individual pixels are too small to see at normal reading distance, which is why 300 became the standard for photos, flyers and anything people hold in their hands.
The key thing most guides bury: a digital image has no physical size until you print it. A file that is 2400×3000 pixels has the same detail whether its DPI field says 72 or 300. The DPI value is just a label that tells software "print me at this density". Change 72 to 300 without touching the pixels and the image does not get sharper; it simply prints smaller (2400 pixels at 300 per inch is 8 inches; at 72 per inch it would be over 33 inches).
So the real question is never "how do I convert to 300 DPI?" It is "do I have enough pixels for the size I want to print?"
Step 1: check how many pixels your image has
- Windows: right-click the file, choose Properties, then the Details tab. Look for Dimensions (for example 3024 × 4032).
- Mac: open the image in Preview and choose Tools, then Show Inspector. The first tab lists the pixel size.
- iPhone: open the photo in Photos and swipe up, or tap the info button. The size appears under the camera details.
- Android: in Google Photos, open the photo and swipe up to see the details, including the resolution.
Then divide each side by 300 to see the largest size it prints well at. A 3024×4032 phone photo, for example, gives roughly 10×13.4 inches at 300 DPI, which comfortably covers an 8×10.
Pixel sizes for common prints at 300 DPI
Use this table as a target when you resize. Sizes are width × height in portrait orientation; swap them for landscape.
| Print size | Pixels needed at 300 DPI | Typical use |
|---|---|---|
| 2×2 in | 600 × 600 | US passport-style photo |
| 3.5×2 in | 1050 × 600 | Business card (no bleed) |
| 4×6 in | 1200 × 1800 | Standard photo print |
| 5×7 in | 1500 × 2100 | Greeting card, framed photo |
| 8×10 in | 2400 × 3000 | Portrait print |
| 8.5×11 in | 2550 × 3300 | US Letter flyer |
| A5 (148×210 mm) | 1748 × 2480 | Leaflet |
| A4 (210×297 mm) | 2480 × 3508 | Poster, flyer, document |
| 11×14 in | 3300 × 4200 | Small poster |
For metric sizes the formula is: millimetres ÷ 25.4 × 300. If your printer asks for bleed (extra image past the trim line, often 1/8 inch or 3 mm per side), add it before you calculate. A business card with 1/8 inch bleed becomes 3.75×2.25 inches, or 1125×675 pixels.
Step 2: resize to the exact pixels
If your image is bigger than the target, resizing down is the clean option and loses nothing you will see in print. Open the Image Resizer, upload the photo, type the width and height from the table and download the result. It is free, needs no sign-up and adds no watermark. The file is processed on Toolyfied's server, used only to produce the result, and old files are cleaned up automatically every day.
Watch the aspect ratio. A phone photo is usually 3:4, while 4×6 is 2:3 and 8×10 is 4:5. Forcing a 3:4 photo into 4:5 pixel dimensions will stretch it. Crop first so the shape matches, then resize. The Image Cropper has precise controls and aspect presets, so you choose exactly which part of the picture survives, so a head is not chopped off at the top of an 8×10 frame. The cropper runs in your browser, so the photo is not uploaded for that step.
Step 3: set the DPI value, if the printer asks for it
Some online print services and template checkers read the DPI field and refuse a file that says 72, even when the pixel count is perfectly fine. Toolyfied's resizer changes pixel dimensions; it does not write a 300 DPI value into the file. If you hit that warning, set the label without resampling in a free app:
- Mac Preview: Tools, then Adjust Size. Untick Resample image, then type 300 in the Resolution box. The width and height in inches update; the pixels stay the same.
- GIMP (Windows, Mac, Linux): Image, then Print Size. Enter 300 for X and Y resolution and export.
- Photoshop: Image, then Image Size. Untick Resample and enter 300.
The important part in every app is the same: resampling off. With it on, the app recalculates pixels instead of just relabelling them.
What if the image is too small?
This is where most "convert to 300 DPI" advice goes wrong. If a 900×1200 image has to fill an 8×10 print, it only has about 112 pixels per inch to give. You have three honest choices:
- Print smaller. 900×1200 at 300 DPI is a 3×4 inch print that will look crisp.
- Accept a lower density. Many photo labs print around 250 PPI, and casual prints at 200 PPI usually look fine at arm's length. Posters seen from across a room can go lower still.
- Find the original. Images saved from social media, chats or websites are often scaled down copies. The original on your phone, camera or in the designer's files usually has far more pixels.
You can enlarge the pixel count with a resizer, and it will remove the printer's warning, but the extra pixels are interpolated from the existing ones. Small enlargements are rarely noticeable; doubling or tripling a small image produces a soft, smudgy print. Better a sharp small print than a blurry large one.
Sending the file to the printer
Print shops differ on format. Photo labs are happy with JPG at high quality. Shops printing flyers, menus or multi-page jobs often prefer PDF. If they ask for PDF, the Image to PDF Converter turns JPG, PNG or WebP files into a PDF, one image per page if you add several.
Avoid shrinking the file size of a print image with heavy compression. An upload limit for a website and a print file are different jobs: the 300 DPI print version should stay large, and if you also need a small copy for email or the web, make a separate one with the Image Compressor rather than overwriting the original.
Common mistakes to avoid
- Changing 72 to 300 with resampling on on a small image. The file gets bigger and the printer stops complaining, but the print is no sharper.
- Ignoring the aspect ratio. Faces look stretched or squashed when width and height are typed without cropping first.
- Using a screenshot. A screenshot captures screen pixels, which are usually far fewer than the original image.
- Saving repeatedly as JPG. Each re-save adds a little more compression. Keep one high-quality master and make copies from it.
Get the pixel count right for the print size, crop to the correct shape, and the DPI label is a ten-second fix. That is all "300 DPI" really asks for.
Frequently Asked Questions
How do I make an image 300 DPI for free?
Check its pixel size, then make sure it has at least 300 pixels per inch of the print size you want. Resize to the exact pixels with a free resizer, and if the printer reads the DPI field, set it to 300 with resampling turned off in Preview, GIMP or Photoshop.
Does changing 72 DPI to 300 DPI improve quality?
No. If you only change the DPI value, the pixels stay identical and the image simply prints smaller. If you resample up to more pixels, the new ones are guessed from existing ones, so the print gets larger but not sharper.
How many pixels is 300 DPI for an A4 print?
An A4 page (210×297 mm) at 300 DPI needs 2480×3508 pixels. For any metric size, divide the millimetres by 25.4 and multiply by 300.
What size should a 4x6 photo be in pixels?
A 4×6 inch print at 300 DPI needs 1200×1800 pixels. Make sure the photo is cropped to a 2:3 ratio first, or it will be stretched or cropped by the lab.
Is 300 DPI necessary for every print?
No. 300 DPI is the target for photos and handheld prints viewed up close. Many photo labs print around 250 PPI, and large posters viewed from a distance can look fine at lower densities.
Can I make a low-resolution image 300 DPI without losing quality?
Not truly. You can raise the pixel count to remove a printer's warning, but missing detail cannot be invented. Printing at a smaller size or finding the original, larger file gives a better result.