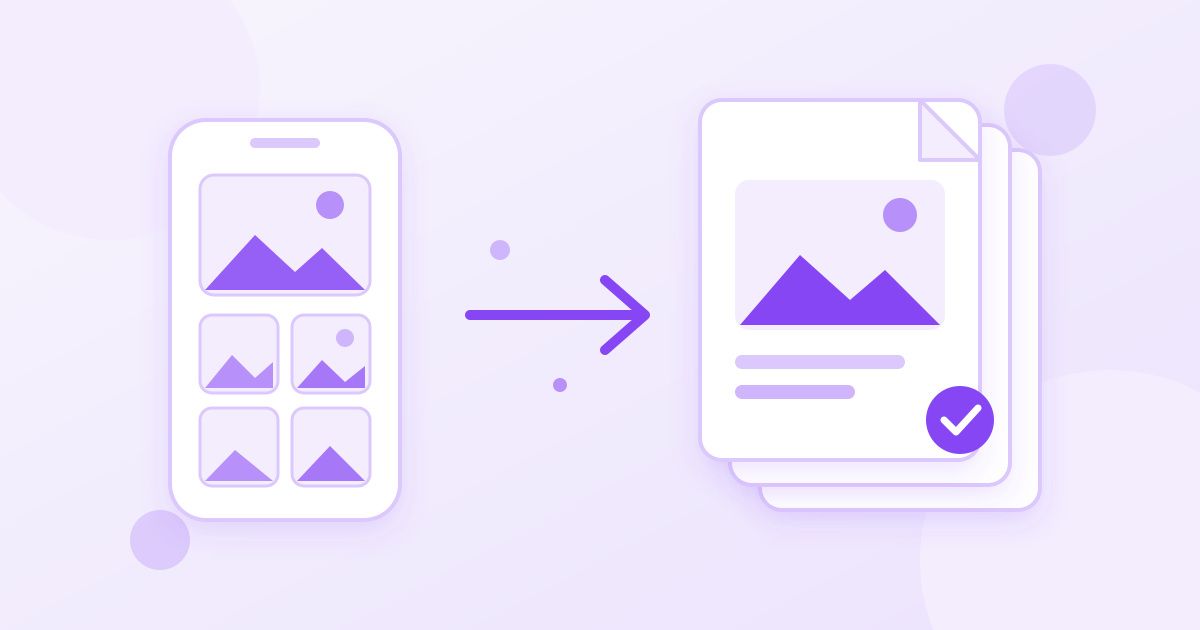
To convert HEIC to PDF, turn the HEIC photos into JPG first, then put those JPGs into an image-to-PDF converter and download one PDF. On an iPhone you can also do it without any website, using the Files app's Create PDF action or the Print screen. This guide covers all three routes and when each one makes sense.
HEIC is the format iPhones use for photos by default. It keeps files small, but a lot of places that want a PDF (a landlord, an HR portal, a university admissions form, a visa application) will not accept a HEIC upload, and many Windows PCs cannot even open one without extra codecs. A PDF solves both problems: it opens everywhere and it can hold several photos in a fixed order.
The quick answer: two steps, no software
- Open the HEIC to JPG converter, upload your HEIC photos and download the JPG versions.
- Open the Image to PDF converter, add the JPGs, put them in the order you want, and download the PDF.
- Open the PDF once before you send it. Check that every page is there, the right way up, and readable.
Both tools are free, need no sign-up and add no watermark. Your uploads are processed on Toolyfied's server only to produce the result, and old files are cleaned up automatically every day. If a photo contains something very sensitive (a passport page, a bank card), it is reasonable to prefer the on-device iPhone methods below instead.
Why the JPG step is needed
HEIC (High Efficiency Image Container) stores the same picture as a JPG in noticeably less space, which is why Apple chose it. The trade-off is compatibility. Most PDF tools, office software and web forms were built around JPG and PNG, so they either reject HEIC or quietly fail on it. Converting to JPG first gives the PDF step a format it can always read.
The JPG conversion does not make your photos look worse in any way you would notice on a document scan or a receipt. JPG files are a little larger than the HEIC originals, which matters only if you are up against an upload limit, and there is a fix for that further down.
Method 2: the Files app on iPhone (on-device)
If the photos are already on your iPhone, the Files app can build a PDF for you:
- In Photos, select the images, tap Share and choose Save to Files. Pick a folder.
- Open the Files app and go to that folder.
- Tap the three-dot menu, choose Select, and select the photos.
- Tap the three-dot button at the bottom and choose Create PDF.
Files creates a new PDF next to the photos. The page order follows the order in the folder, which is usually by file name, so rename the files first if the order matters (for example 1-front, 2-back). Menu labels move around slightly between iOS versions, but Create PDF has been in the Files app for several years.
Method 3: the Print screen trick
This one works for a single photo or a small batch straight from the Photos app. Select the photos, tap Share, choose Print, then pinch outward on the preview thumbnail. The preview opens as a PDF, and the Share button there lets you save it to Files or send it by email. It is handy in a hurry, but you get little control over page size or margins.
Which method should you use?
| Situation | Best route | Why |
|---|---|---|
| HEIC files are on a Windows PC or Android phone | HEIC to JPG, then Image to PDF | Works in any browser; nothing to install |
| Photos are on your iPhone and you want nothing uploaded | Files app > Create PDF | Runs on the phone itself |
| One quick photo to email | Print screen pinch | Fastest, fewest taps |
| You need a strict page order for many photos | HEIC to JPG, then Image to PDF | You can reorder pages before downloading |
| The PDF must stay under an upload limit | Either route, then compress | Compression is a separate step |
Getting the pages in the right order
Page order is where most multi-photo PDFs go wrong: the back of an ID lands before the front, or page 3 of a contract ends up first. A few habits help:
- Name before you convert. Short numbered names (01, 02, 03) survive the HEIC to JPG step and make the order obvious.
- Reorder in the PDF step. The image-to-PDF tool lets you arrange images before you create the file, which is easier than fixing it afterwards.
- Adding a page later? Convert the extra photo to its own PDF and join the two with the PDF Merger, where you can drag files into order.
Keeping the PDF under an upload limit
Modern iPhone photos are large in pixels. Six or seven full-resolution photos in one PDF can easily run to several megabytes, and many online forms cap uploads at 1 to 5 MB. You have two good options:
- Shrink the images first. A document photo rarely needs more than about 2000 pixels on its long side to stay readable. Run the JPGs through the Image Resizer before building the PDF.
- Compress the finished PDF. The PDF Compressor reduces the file size while keeping it readable. Check small print (dates, reference numbers) after compressing.
Resizing first usually gives the cleaner result, because you decide exactly how much detail to keep.
Stop the problem at the source
If you often need JPGs, you can tell your iPhone to shoot them. Go to Settings > Camera > Formats and choose Most Compatible. New photos are then saved as JPG and skip the conversion step entirely. They take a bit more storage, and existing HEIC photos are not changed.
A second setting also helps: Settings > Photos > Transfer to Mac or PC > Automatic makes the iPhone hand over compatible files (usually JPG) when you copy photos to a computer by cable.
Common problems and fixes
- A page is sideways. The photo's orientation tag was lost. Rotate the finished document with Rotate PDF, or retake the photo holding the phone upright.
- The file extension says .heic but it will not convert. Some files are Live Photos or screenshots saved in other formats. Export the photo again from the Photos app, or take a screenshot of it as a last resort.
- The text in the PDF is blurry. The problem is usually the original photo, not the conversion. Shoot in good light, fill the frame with the document and hold still.
- The form wants a searchable PDF. A PDF made from photos contains images of text, not text itself. That is fine for most uploads, but it will not be searchable.
HEIC files that did not come from an iPhone
HEIC is not only an Apple format. Some Android phones, including several recent Samsung models, can save photos as HEIF/HEIC to save space, and you may receive HEIC files from someone else by email or a chat app. The same two-step route applies: convert them to JPG, then build the PDF. If a chat app has already compressed the photos, the PDF will only be as sharp as those compressed copies, so ask the sender for the original files when detail matters, such as a signed page or a document with small print.
A quick checklist before you send it
- Every page present, in order, and the right way up.
- Small text readable when you zoom in.
- File size under the form's limit.
- File name that says what it is, such as lease-photos-apartment-4b.pdf, rather than IMG_4821.pdf.
Once those four are true, the PDF is ready for the portal or the email.
Frequently Asked Questions
Can I convert HEIC directly to PDF?
Some converters accept HEIC directly, but many PDF tools only read JPG, PNG or WebP. Converting HEIC to JPG first and then turning the JPGs into a PDF works reliably with almost any tool.
How do I convert HEIC to PDF on iPhone without an app?
Save the photos to the Files app, select them there and choose Create PDF from the menu. You can also select a photo, tap Share, choose Print and pinch outward on the preview to get a PDF.
How do I convert HEIC to PDF on Windows?
Use a browser: convert the HEIC files to JPG with an online HEIC to JPG converter, then combine the JPGs with an image-to-PDF converter. Nothing has to be installed on the PC.
Does converting HEIC to JPG reduce quality?
There is a small amount of recompression, but for documents, receipts and everyday photos the difference is not visible. The JPG files will usually be somewhat larger than the HEIC originals.
Can I put several HEIC photos into one PDF?
Yes. Convert all of them to JPG, add them to the image-to-PDF tool together, arrange the order and download a single PDF. Each photo becomes one page.
How do I make my iPhone take JPG photos instead of HEIC?
Go to Settings, Camera, Formats and choose Most Compatible. New photos are saved as JPG, while photos you already took stay in HEIC.