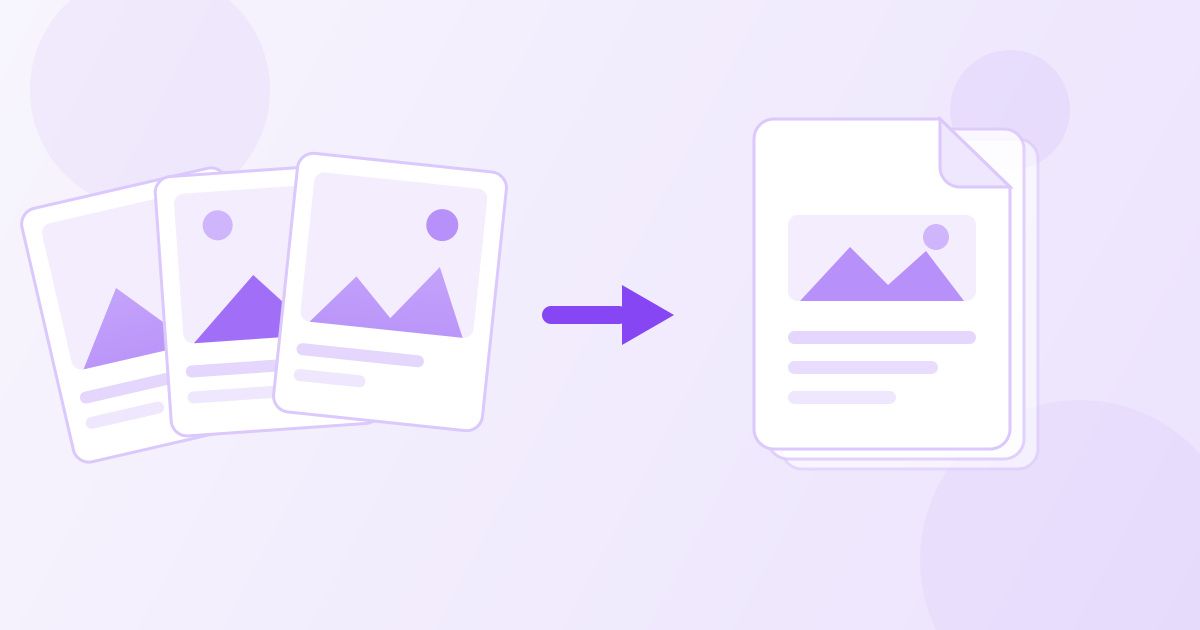
If you have a folder of photos — scanned pages, receipts, an ID copy, screenshots of a form — and someone has asked you for "one PDF", you do not need Acrobat or a phone app. Drop the images into the free Image to PDF converter, put them in the right order, and download a single PDF with one image per page. It takes about a minute, there is no sign-up, and there is no watermark on the result.
This guide covers the conversion itself, how to control the page order, what to do with iPhone photos that are not JPGs, how to keep the finished PDF small enough to email, and the cases where a different tool is the better answer.
Combine photos into one PDF in four steps
- Open the Image to PDF converter and add your files. JPG, PNG and WebP images all work, and you can select several at once.
- Check the order before you convert. The first image becomes page 1. Rearrange them until the sequence reads the way the document should read.
- Run the conversion. Each image is placed on its own page.
- Download the PDF. That single file is what you attach, upload or print.
That is the whole job for most people. The rest of this article is about the details that make the difference between a PDF someone can read and a PDF they have to squint at or ask you to resend.
Page order is the part people get wrong
Photos rarely arrive in the order you want them. Two things cause most of the trouble.
Filename sorting is not human sorting. A folder containing page1.jpg, page2.jpg and page10.jpg will often sort as 1, 10, 2, because the computer compares text character by character. If you are selecting a lot of files at once, rename them with padded numbers first — page01, page02, page10 — and the order comes out right every time.
Camera timestamps do not match page order either. If you photographed a stack of paper and went back to redo page three because your thumb was in the shot, that retake now sits at the end of the sequence. Reorder in the tool before converting rather than fixing it afterwards.
It is worth checking the finished PDF once before you send it. Open it, scroll through, and confirm that every page is present, upright and readable at normal zoom.
iPhone photos: convert HEIC to JPG first
Recent iPhones save photos as HEIC rather than JPG. It is a good format — smaller files at the same quality — but plenty of software still refuses to open it, and a HEIC file is not what most upload forms expect.
If your photos have a .heic extension, run them through the HEIC to JPG converter first, then feed the JPGs into the PDF step. You can also stop your phone producing HEIC in the first place: in Settings → Camera → Formats, choose Most Compatible, and new photos are saved as JPG.
Which method should you use?
There is more than one way to turn images into a PDF, and the right one depends on what you have in front of you.
| Method | Works on | Reorder pages? | Needs software? |
|---|---|---|---|
| Toolyfied Image to PDF | Any device with a browser | Yes, before converting | No |
| Windows "Print to PDF" | Windows only | Only by renaming files first | Built in |
| Mac Preview | Mac only | Yes, in the sidebar | Built in |
| Phone share sheet | iPhone / Android | Limited | Built in |
The built-in options are perfectly good when you are on the machine that has them. The browser tool matters when you are not — a work laptop you cannot install software on, a borrowed computer, a Chromebook, or a phone where the share sheet gives you a PDF with margins you did not ask for.
Crop before you convert, not after
A photographed document usually has a desk, a keyboard and part of a sleeve around the edges. Once that photo is inside a PDF, trimming it is fiddly. Cropping it while it is still an image takes seconds.
Run each photo through the image cropper and cut down to the paper itself before you build the PDF. The document fills the page properly, the text is bigger on screen, and the file is smaller because you are no longer storing pixels of your desk.
Two other things help if you are photographing paper: shoot in even light with no hard shadow across the page, and hold the camera parallel to the paper rather than at an angle, so the lines of text stay straight.
Portrait, landscape and mixed pages
A PDF built from photos inherits the shape of the images. Photograph a page of A4 in portrait and you get a portrait page; turn the phone sideways for a wide receipt and that page comes out landscape. A document that alternates between the two is not broken, but it is annoying to read, because the reader has to rotate their head or the view every few pages.
If you care about consistency, decide on one orientation before you start photographing and stick to it. Where a page is genuinely wider than it is tall — a spreadsheet printout, a certificate, a wide diagram — landscape is the right choice and worth keeping. Where a page arrived sideways by accident, crop it back to the paper and it usually sorts itself out.
The same logic applies to screenshots. A tall phone screenshot on its own page leaves a lot of white space, which is fine for a receipt but wasteful if you are stacking twenty of them. Cropping to the part that matters makes the finished document far easier to read.
If the PDF is too big to send
Photos are heavy. Ten pictures from a modern phone camera can add up to a PDF far larger than an email attachment limit, and the usual result is a bounce message or an upload that silently fails.
You have two places to fix that:
- Before converting — shrink the images with the image compressor. This is usually the bigger win, because you are cutting the source data.
- After converting — run the finished file through the PDF compressor, which reduces the size while keeping the pages readable.
Do not compress so hard that small print stops being legible. For anything that has to be read by a person — a signed form, an invoice, a medical letter — check the smallest text in the finished PDF at 100% zoom before you send it.
When you have PDFs, not images
If what you actually have is several PDFs and you want them in one file, images are not the route. Use the PDF merger instead: it combines whole PDFs, keeps them selectable as text, and lets you reorder the files before merging.
The same applies to a mixed pile. Convert the photos to a PDF first, then merge that PDF with the ones you already had.
Common reasons a converted PDF gets rejected
When someone sends a photo-built PDF back and asks for another copy, it is almost always one of a handful of things:
- A page is cut off. The bottom line of an address or a signature sits outside the frame. Re-photograph rather than crop tighter.
- Glare across the text. A window or ceiling light reflecting off the paper wipes out a line. Move, do not brighten.
- Wrong side of a double-sided page. Easy to do with a stack; check page count against the original.
- The text cannot be searched. A photo of text is a picture, not text. If the recipient needs to copy from it or search it, they need a scan or a text layer, not a photograph.
That last point catches people out. A PDF made from photos looks like a document but behaves like a picture album — you cannot select a sentence from it. If the person on the other end has asked for something they can copy text out of, tell them what you are sending, or extract the text separately with the image to text tool, which reads English text out of images and scanned pages and hands it back as plain text you can paste.
What happens to your files
The conversion runs on Toolyfied's server, so the images are uploaded to produce the PDF. They are used only for that, and old files are cleared from the server automatically every day. Nothing is kept for any other purpose, no account is created and the output carries no watermark.
For anything genuinely sensitive — passports, bank statements, medical records — it is sensible to think about where you send the finished file afterwards too, since email attachments tend to sit in mailboxes for years.
A quick checklist before you send it
- Every page present, in the right order.
- Nothing sideways or upside down.
- The smallest text readable at normal zoom.
- The file small enough for wherever it is going.
- A sensible filename, so the person receiving it knows what it is.
That is the difference between a PDF that gets accepted first time and one that comes back with questions.
Frequently Asked Questions
How do I combine multiple JPG files into one PDF?
Add all the JPGs to the Toolyfied Image to PDF converter, arrange them so the first image is page 1, then convert and download. Each image becomes one page of a single PDF. It is free, needs no account, and adds no watermark.
Can I choose the page order of the photos?
Yes. Rearrange the images before you convert, because the order they are in becomes the page order in the PDF. If you are adding a large batch at once, rename the files with padded numbers first, so page01 sorts before page10.
Does converting photos to PDF reduce their quality?
The conversion itself places your images on pages rather than re-shooting them, so what you put in is what appears on the page. Quality loss only happens if you deliberately compress the images or the finished PDF to make the file smaller.
Why won't my iPhone photos convert?
They are probably HEIC files rather than JPGs. Run them through the HEIC to JPG converter first, then convert the JPGs to PDF. You can also set your iPhone camera format to Most Compatible so new photos are saved as JPG.
How do I make the PDF smaller so I can email it?
Compress the images before converting, or run the finished PDF through the PDF compressor afterwards. Compressing the source images usually saves more. Check that the smallest text is still readable before you send it.
Is it free, and do I need to install anything?
It is free, works in any browser on any device, and needs no installation or sign-up. The files are uploaded only to produce the PDF and old files are cleaned off the server automatically every day.